Overview
The Projects module gives teams a unified workspace to model threats across APIs, microservices, and applications. Each project consolidates endpoints, threat logs, collaborators, and progress analytics — allowing teams to perform systematic, repeatable, and collaborative threat modeling.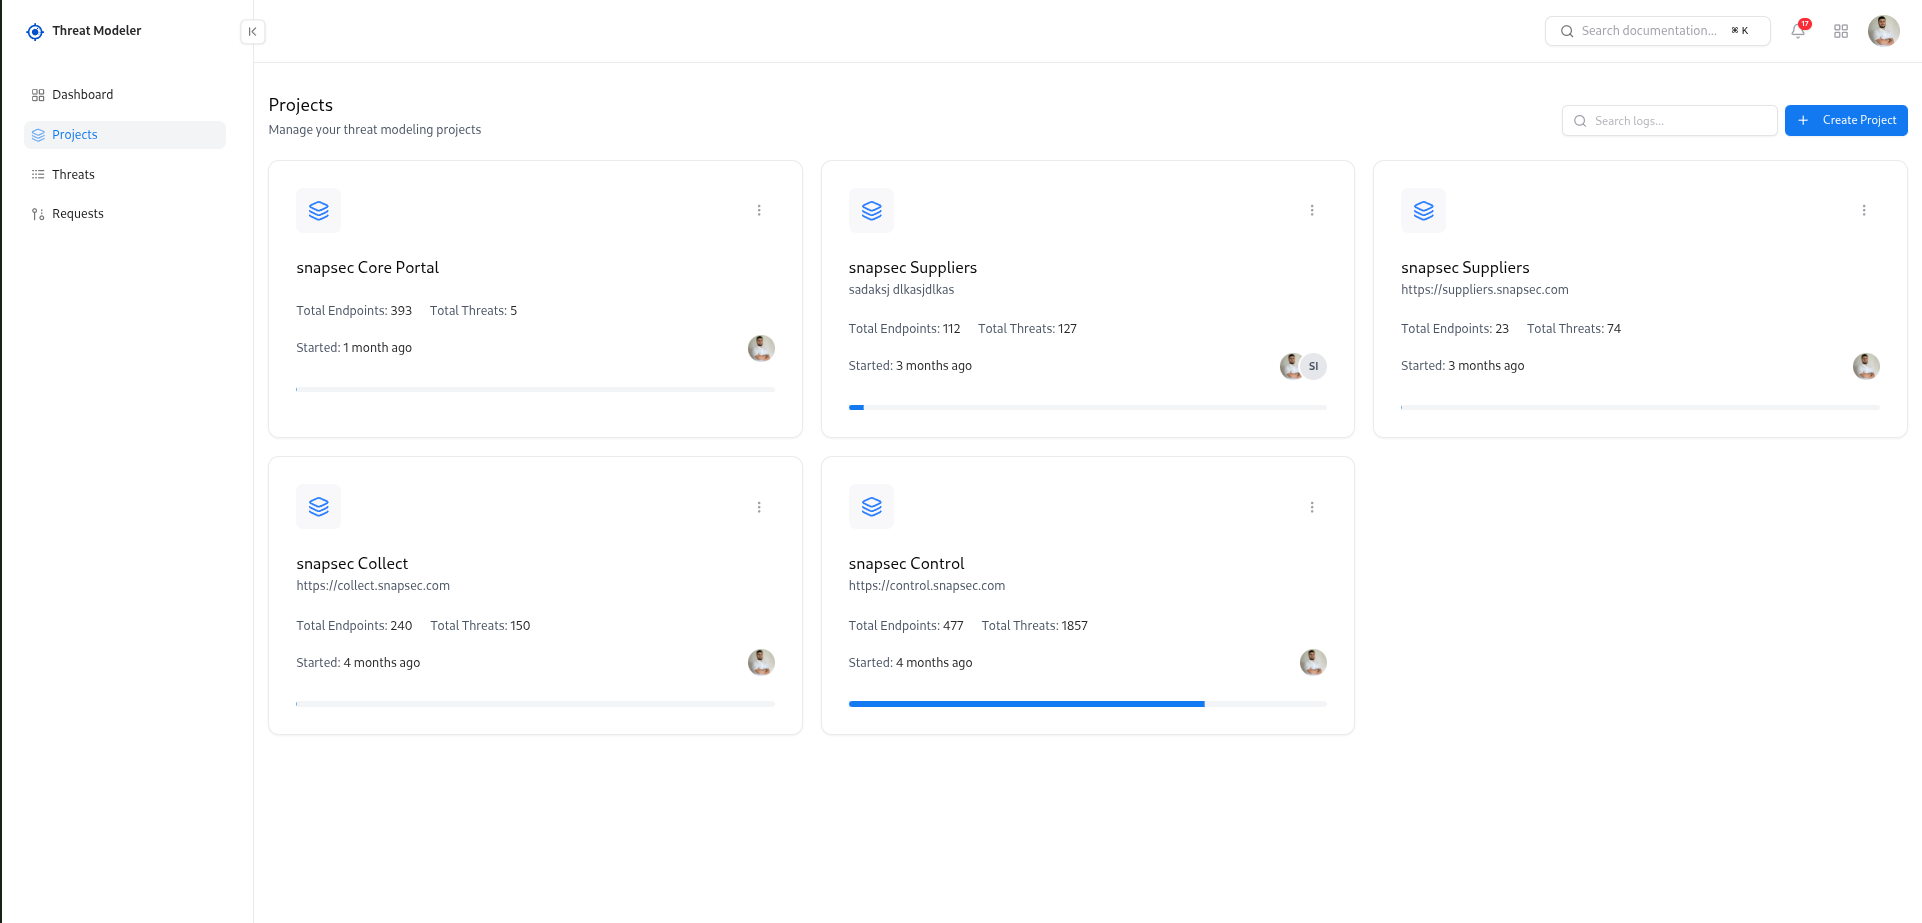
Overview
Threat Modeling Projects act as dedicated workspaces for analyzing application components, API endpoints, and security risks. Each project contains:- API endpoint inventory
- Automatically generated threat findings
- Threat severity & confidence analytics
- Project-level completion status
- Collaborators & permissions
- Workload distribution and ownership
Key Metrics & Insights
Total Endpoints
Total API endpoints included in the modeling scope of the project.
Total Threats
Count of all identified or generated threats across the project.
Progress Status
Tracks how much threat analysis is completed for the project.
Exploring Existing Projects
- Project name and short description
- Total Endpoints and Total Threats
- Progress bar to visualize activity and coverage
- Started date (how long the project has been active)
- Owner avatar to see who is responsible
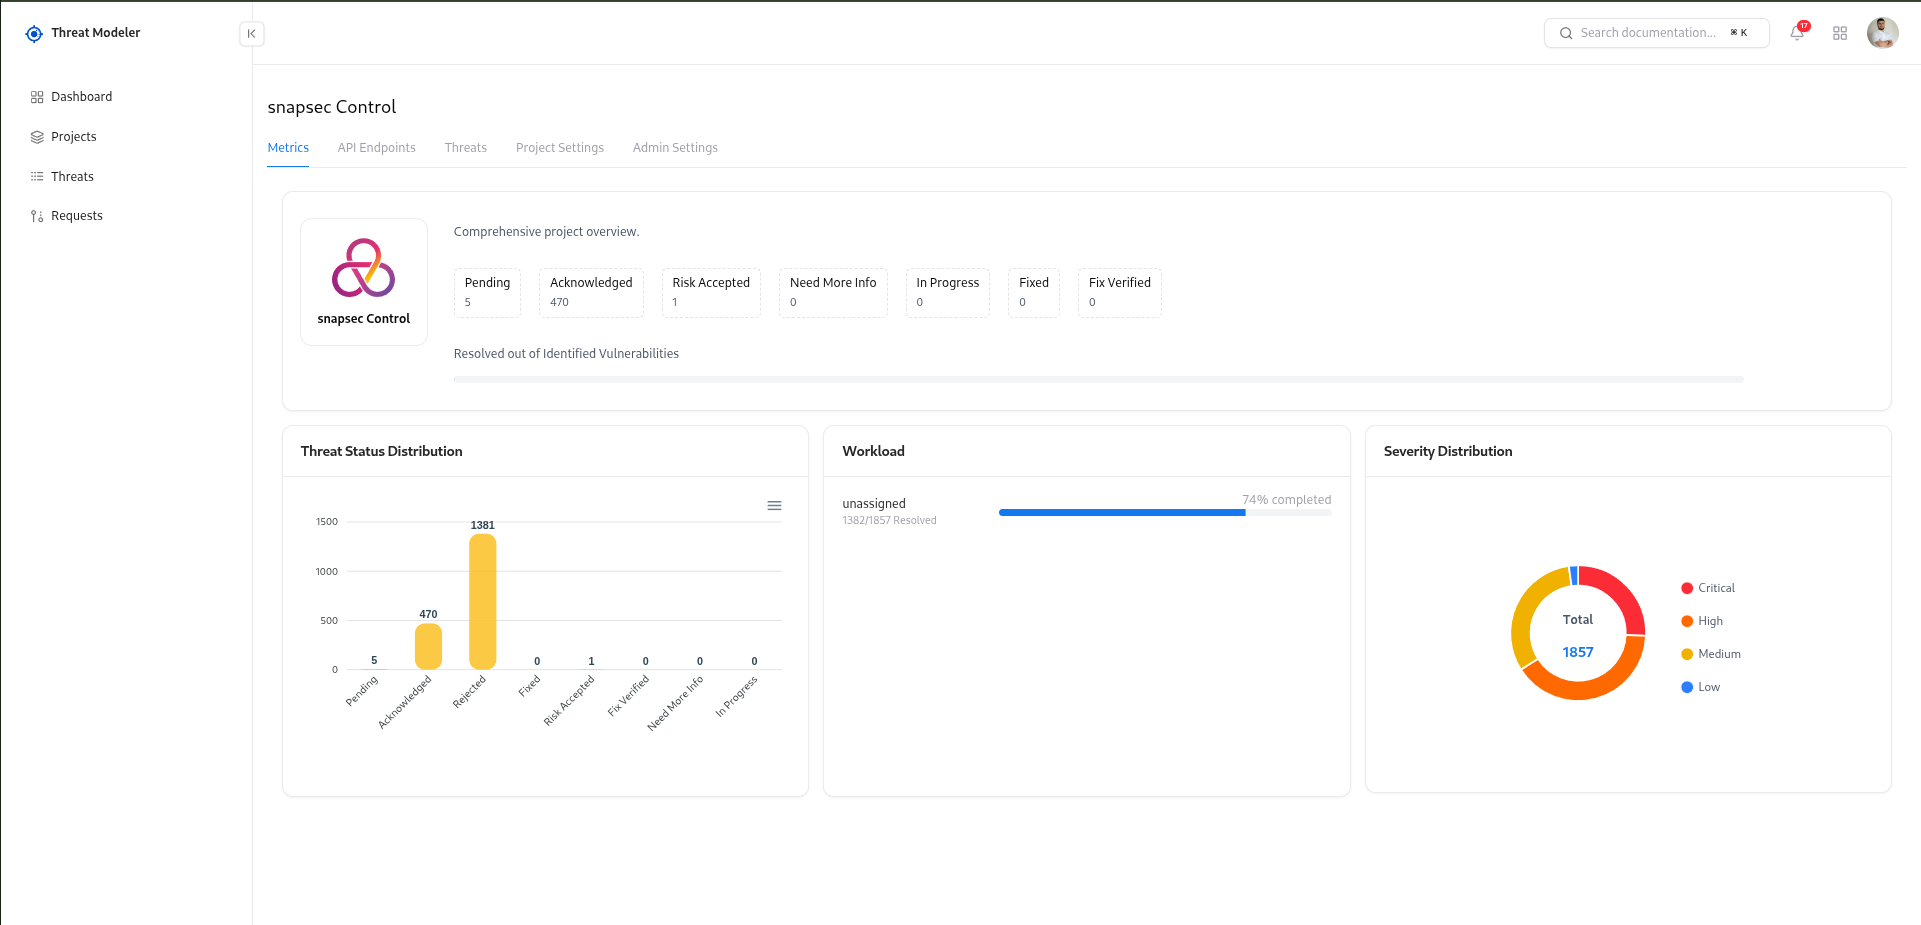
- Metrics – overview of threats, severity distribution, and progress
- API Endpoints – list of imported endpoints and their threat status
- Threats – all generated or manually created threats
- Project Settings – collaborators and ownership
- Admin Settings – advanced controls for the project
Creating a New Project
To start threat modeling for a new application or service: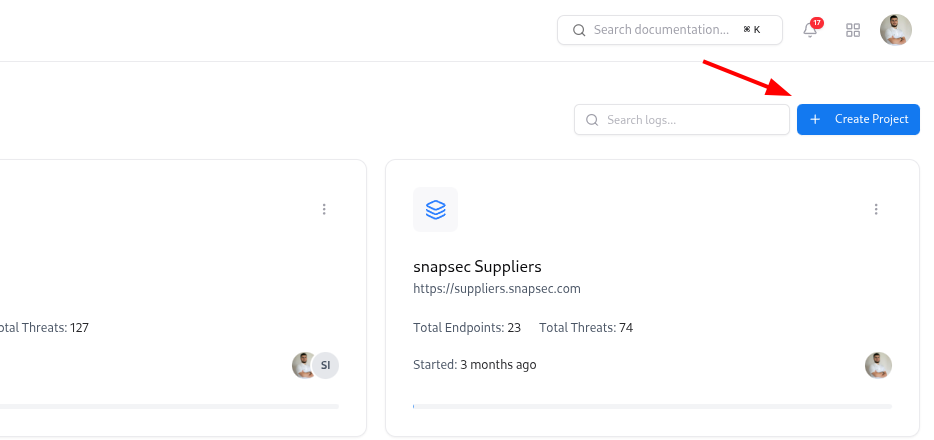
Fill in project details
In the Create Project modal: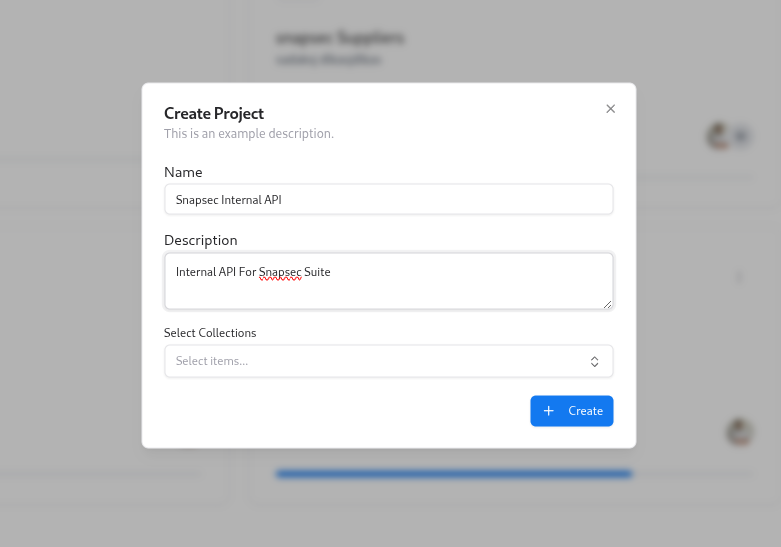
- Name – a clear name such as
Snapsec Portal - Description – short context for the team (what this system does, environment, etc.)
- Select Collections – optionally attach one or more API collections (for example, Postman collections) that contain the endpoints you want to model.
A project is the container for everything related to a system: endpoints, threats, collaborators, and ownership settings.
Importing API Endpoints into a Project
The API Endpoints tab is where you centralize all endpoints for a project. To import endpoints: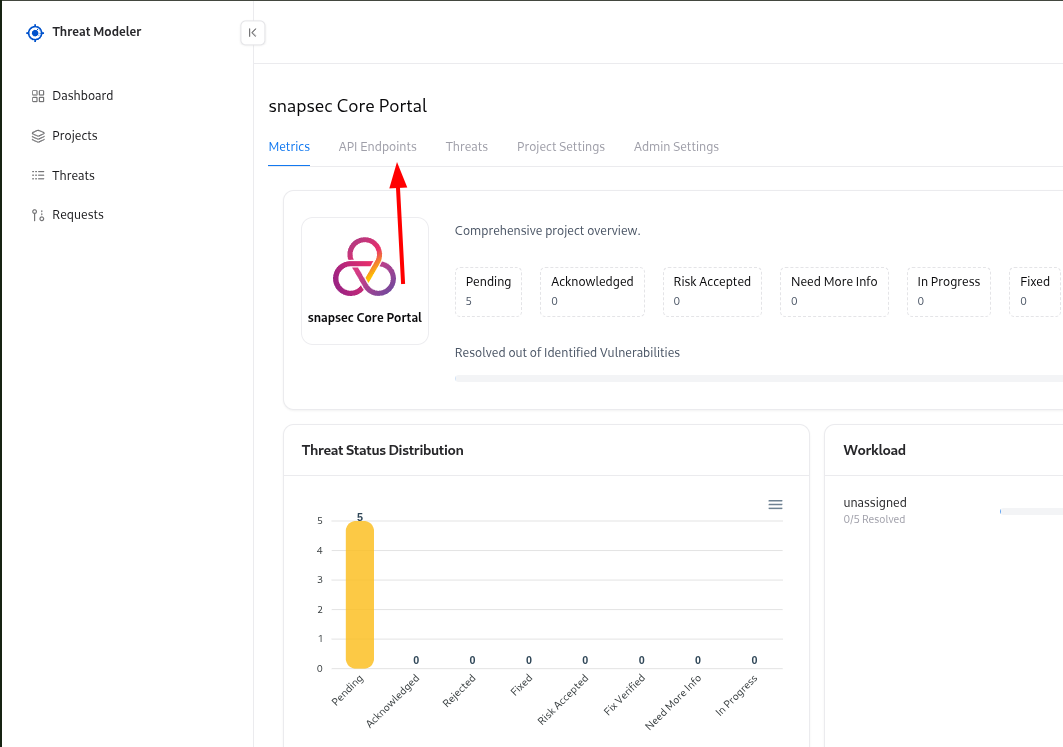
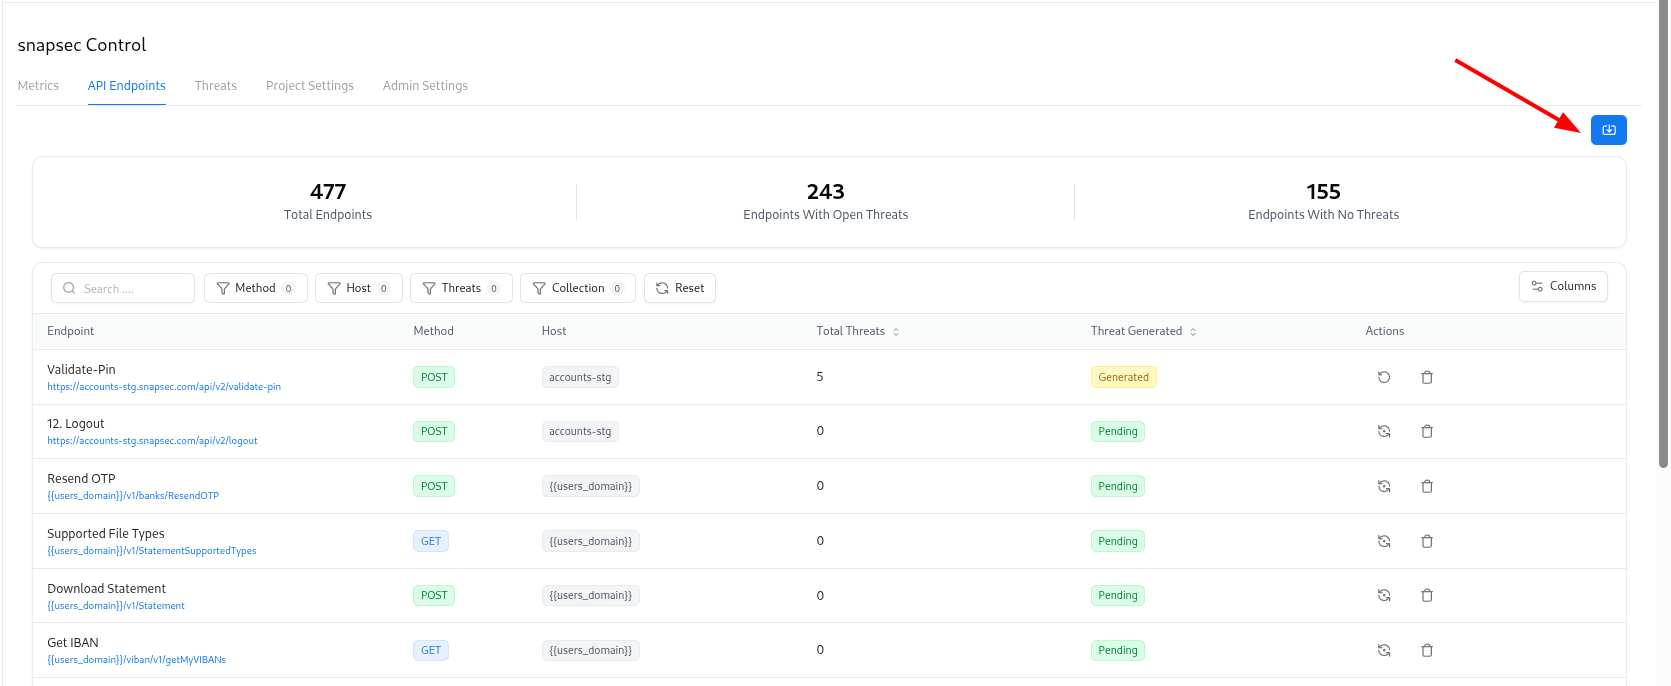
Upload your source
Upload your API definition file (for example, a Postman collection export or similar JSON file).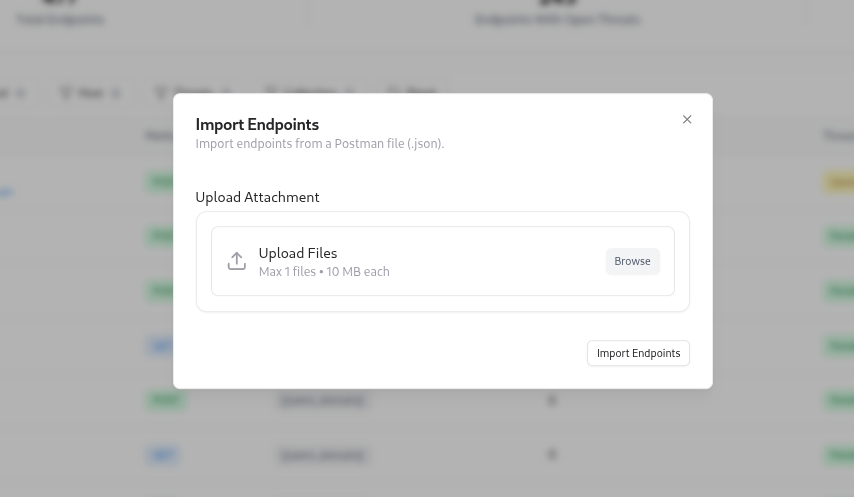
Once endpoints are imported, Threat Modeler can automatically generate threats for them using your configured rules and AI engine.
Importing Threats from CSV
If you already have threats defined in spreadsheets or another system, you can bulk-import them. To import threats: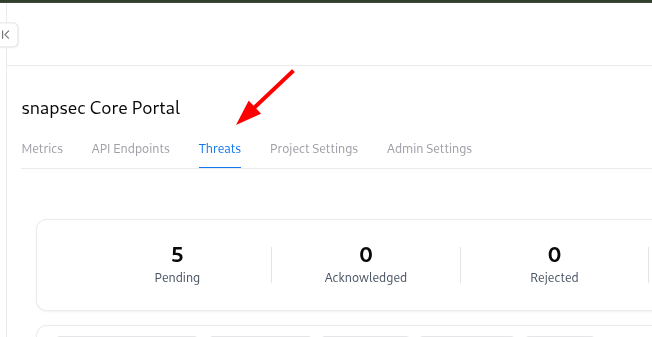
Upload CSV file
Select your CSV file following the expected format (columns such as title, description, severity, state, endpoint mapping, etc.).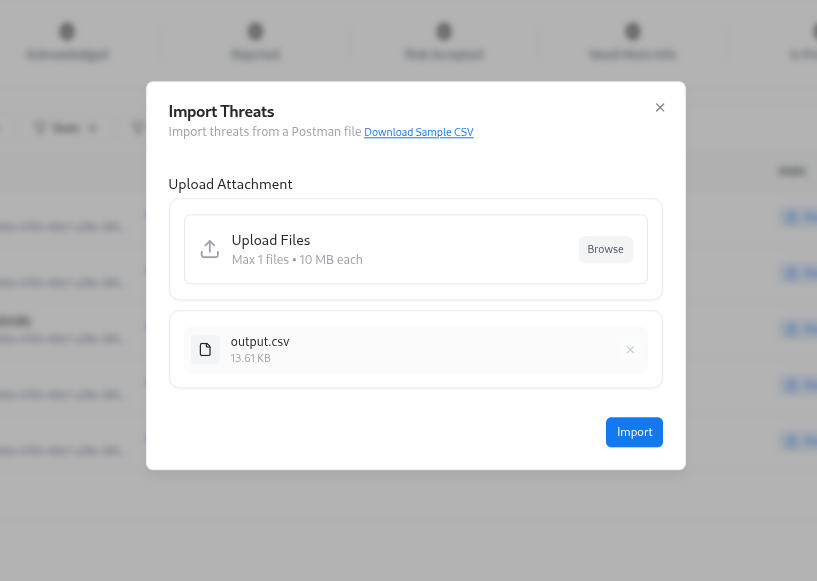
CSV import is ideal when migrating from legacy tools or loading a batch of identified threats during onboarding.
Downloading Threats as CSV
You can export threats to CSV for reporting, sharing with other systems, or offline analysis.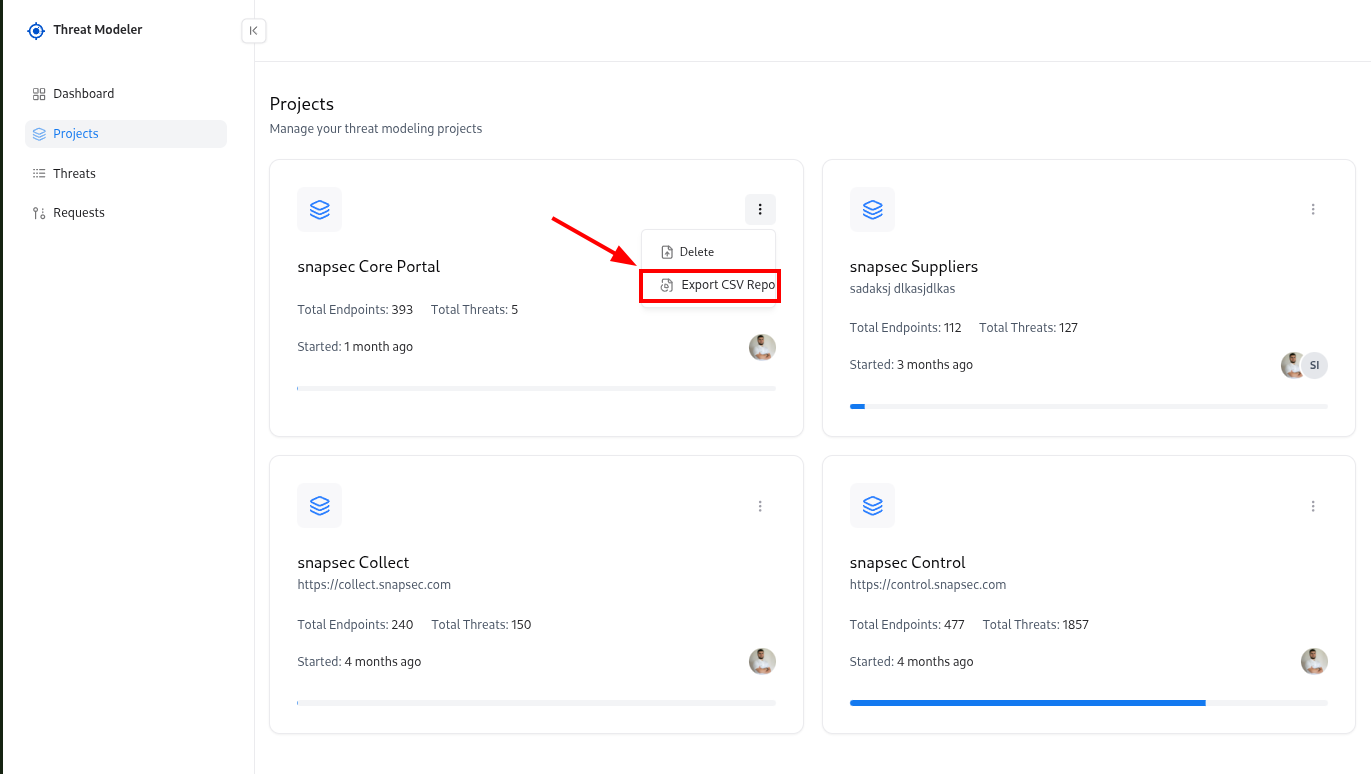
Adding or Removing Collaborators
Collaborators control who can see and manage a project. To manage collaborators: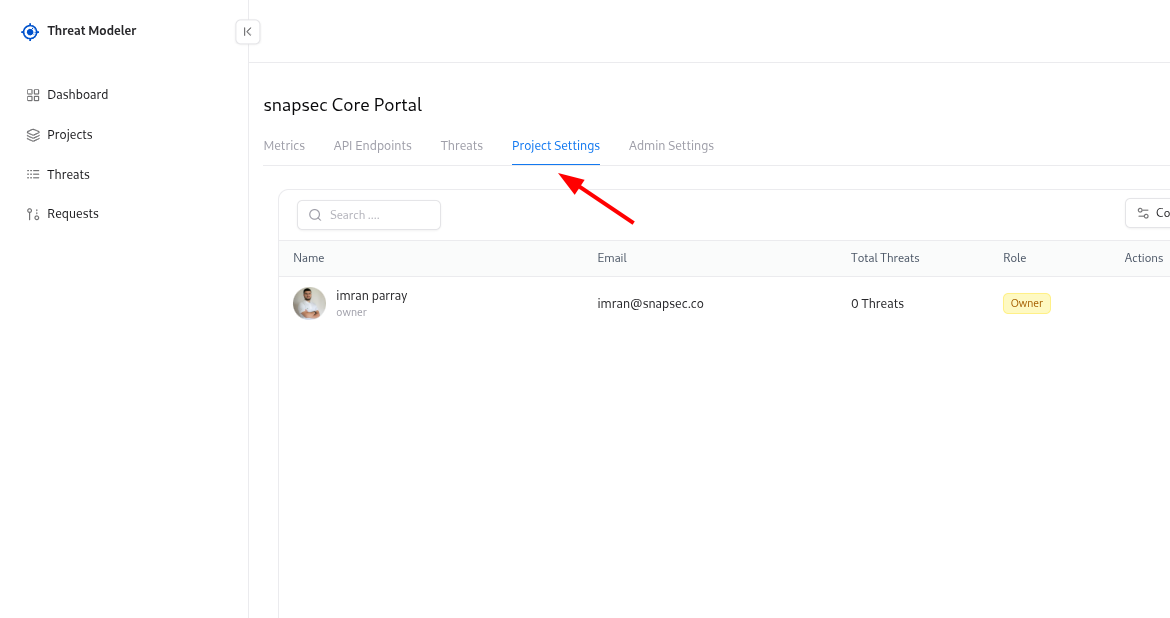
Add a collaborator
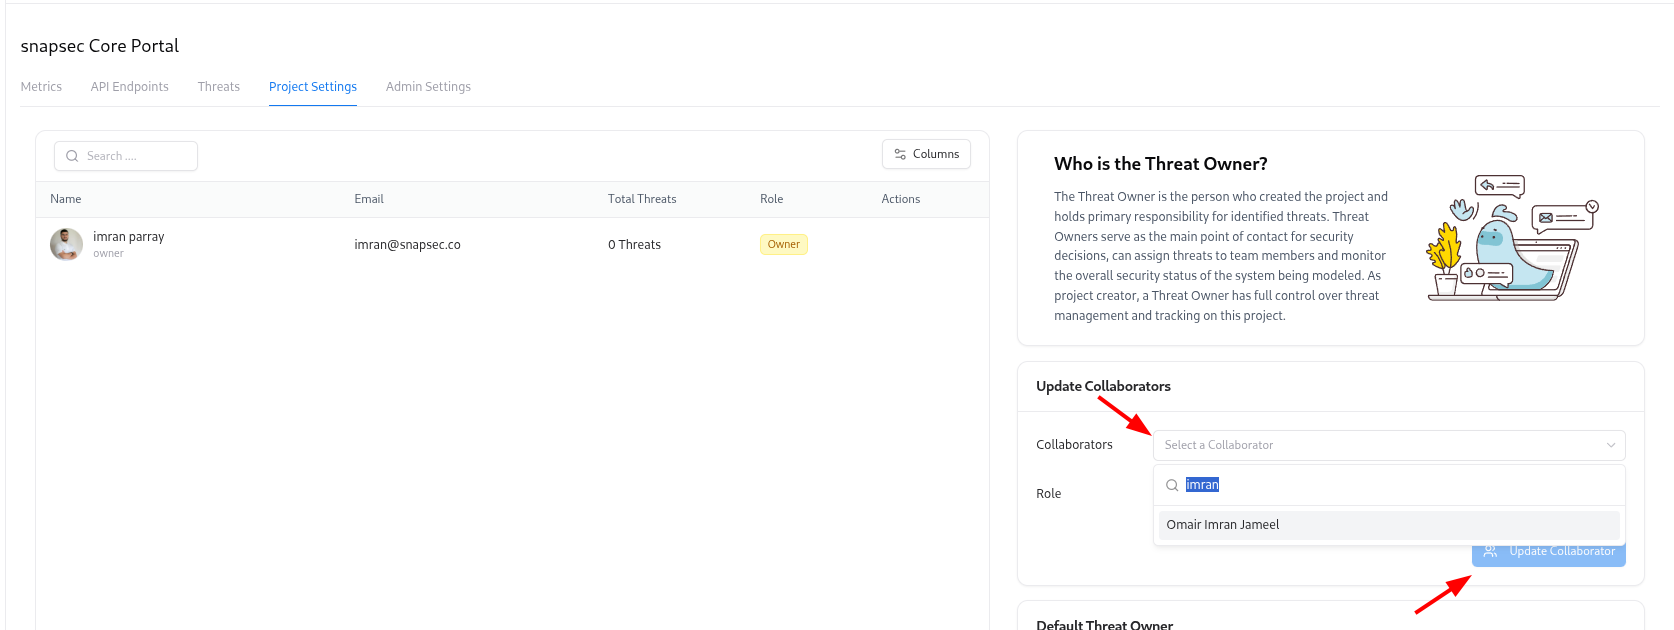
- Choose a user from the Collaborators dropdown
- Select a Role (Owner, Editor, or Viewer)
- Click Update Collaborator
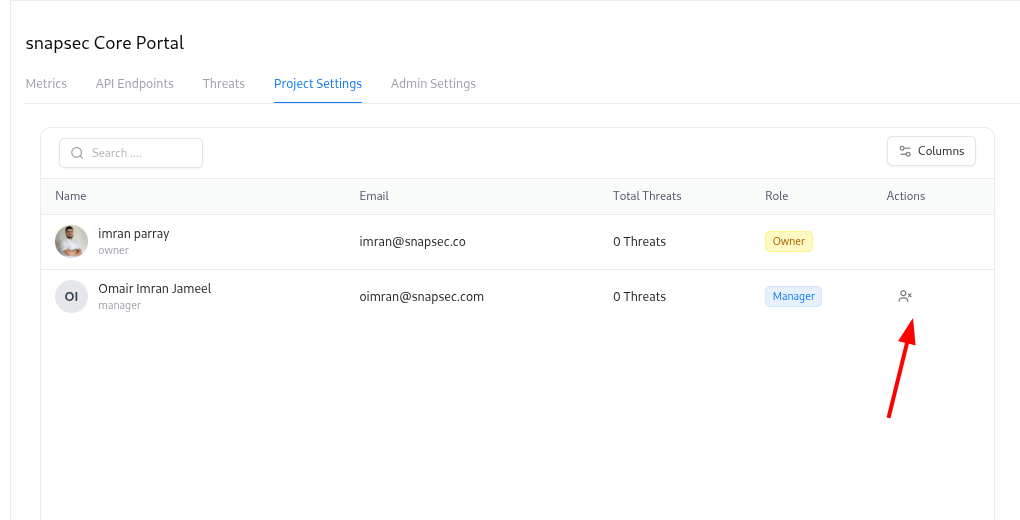
Use Owner for people responsible for security decisions, Editor for active contributors, and Viewer for stakeholders who only need read-only access.
Setting a Default Threat Owner
The Default Threat Owner is the person who will be assigned as the owner for new threats when no specific owner is specified. To configure:Choose Default Threat Owner
In the Default Threat Owner section: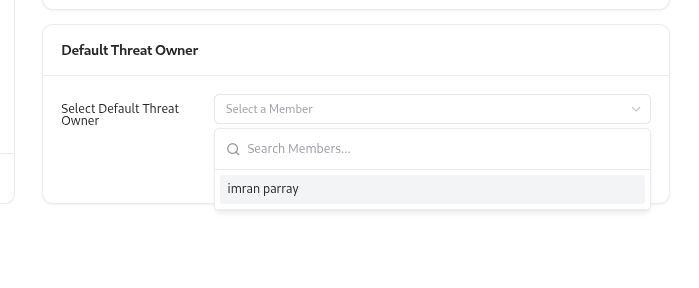
- Select a team member from the dropdown.
A default owner ensures that every threat has a clearly responsible person from day one, avoiding “unowned” risks.
Explore Live Demo
Explore Snapsec Live — No Signup Needed
Jump straight into the live environment and see how Snapsec unifies asset intelligence, threat detection, and vulnerability tracking — all in one dashboard.