

Overview
The Scans page enables security teams to initiate, monitor, and manage discovery scans across their external attack surface. Each scan identifies assets such as subdomains, IPs, services, and exposures — providing a continuously updated view of your organization’s internet-facing footprint.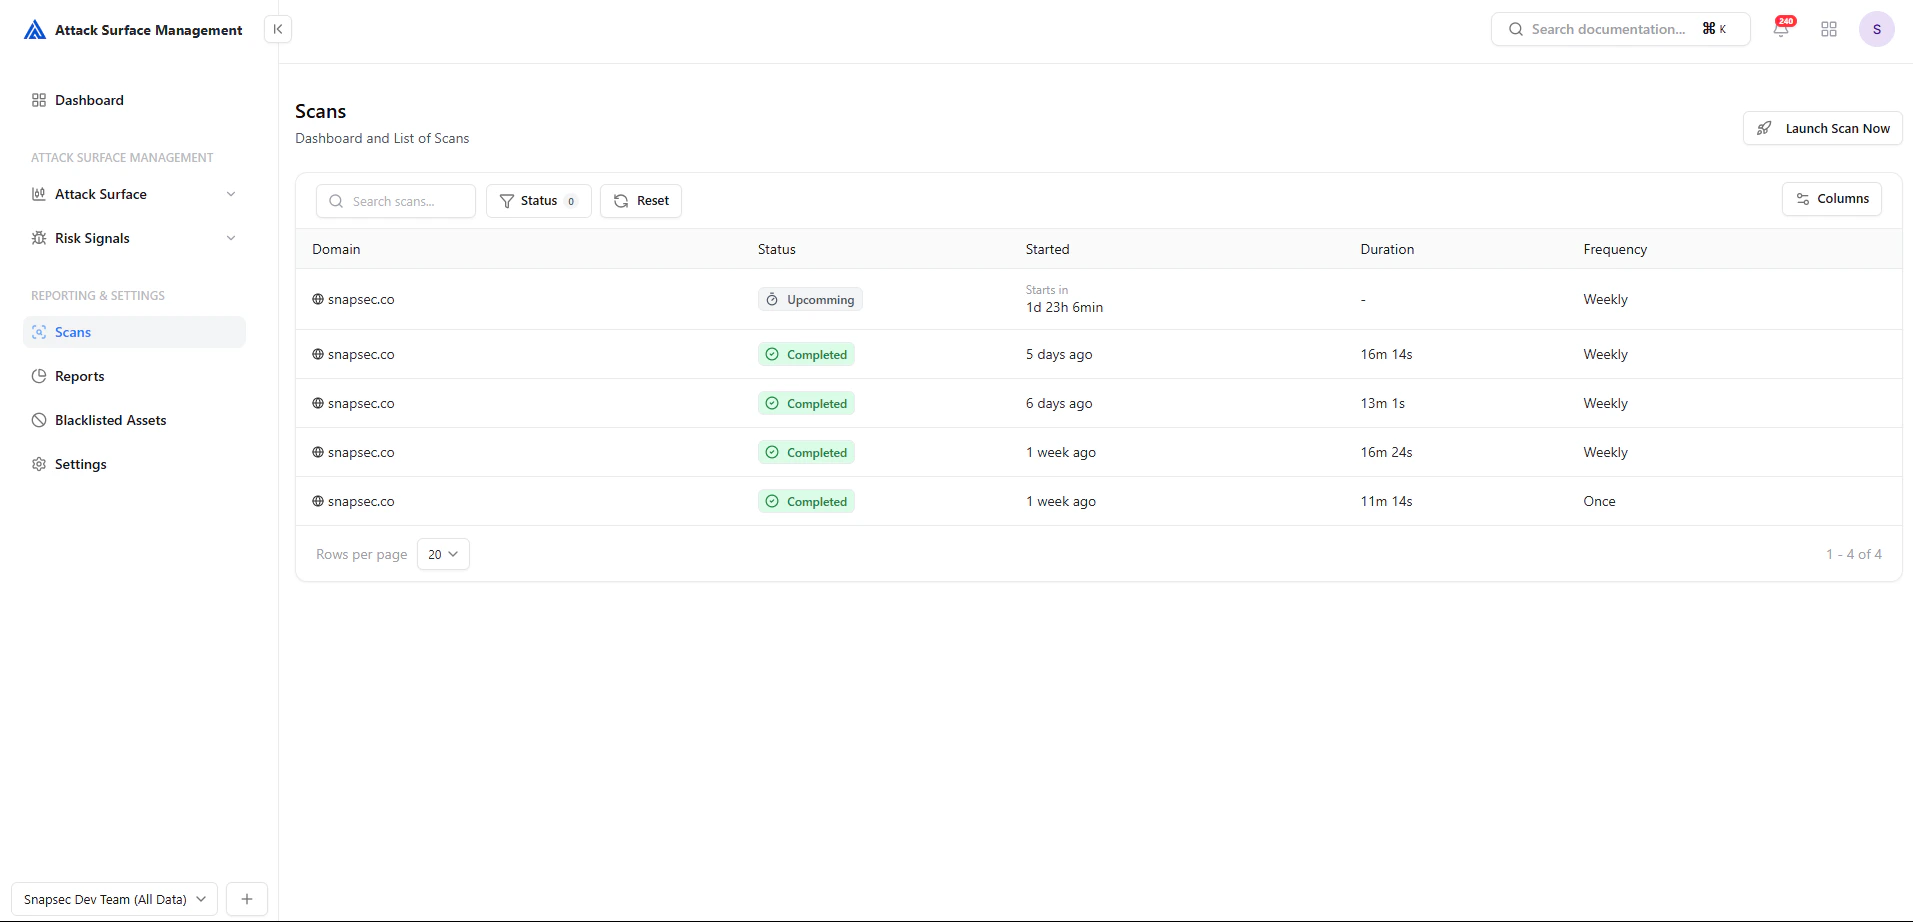
Scans dashboard showing scan history, status, and scheduling
Scan List
The scan list provides a historical and real-time view of all executed and scheduled scans.Key Capabilities
- View scan status (Upcoming, Completed, etc.)
- Track execution time and duration
- Monitor scan frequency (weekly / one-time)
- Identify recent scan activity
Fields Explained
Scan Status & Filtering
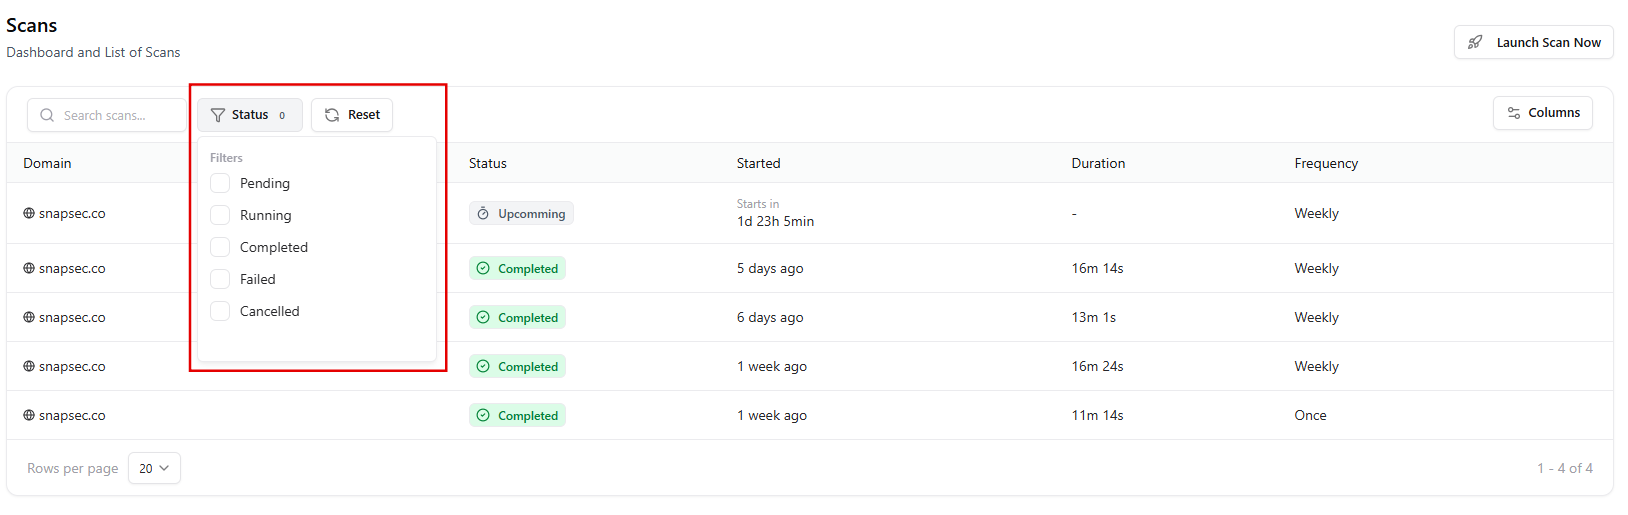
Status filter for refining scan results
- Pending — Scheduled but not started
- Running — Currently in progress
- Completed — Successfully finished
- Failed — Encountered an issue
- Cancelled — Manually stopped
Launching a Scan
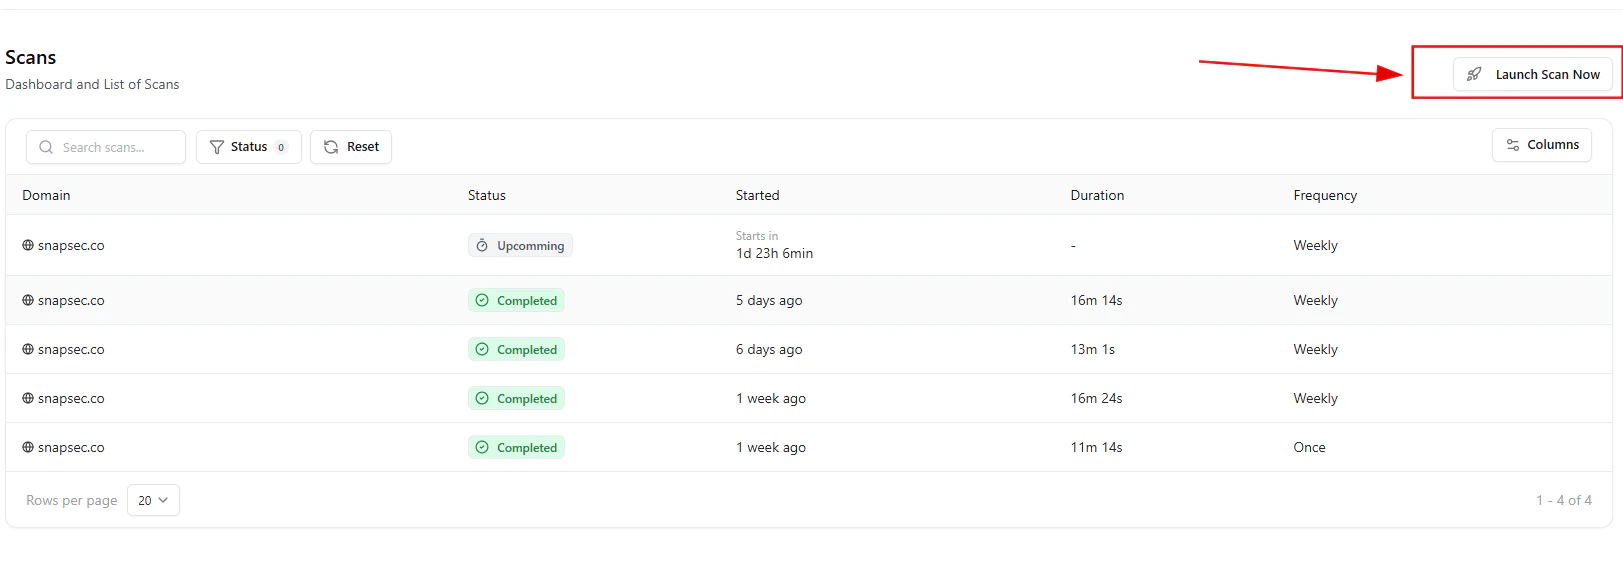
Launch Scan button to initiate a new scan
- Click “Launch Scan Now”
- Confirm the action in the prompt
- The scan is scheduled and begins execution
Confirmation Flow
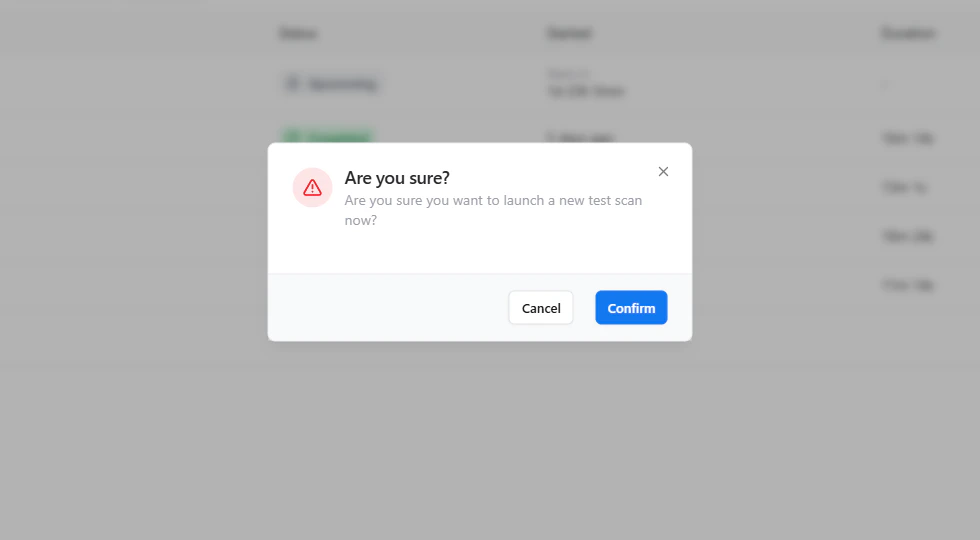
Confirmation modal before starting a new scan
- Prevents accidental scan triggers
- Adds operational control
- Confirms scan initiation
How Scans Work
Each scan performs a multi-layered discovery process:-
Asset Enumeration
- Subdomains
- IP addresses
- DNS records
-
Service Detection
- Open ports
- Running services
- Web servers
-
Data Correlation
- Mapping assets to hosts
- Identifying relationships
-
Exposure Identification
- Publicly accessible services
- Misconfigurations
- Security risks
Continuous Monitoring
Scans can be scheduled (e.g., weekly) to ensure continuous visibility. This enables:- Detection of newly introduced assets
- Monitoring of infrastructure changes
- Early identification of security risks
- Tracking of attack surface growth over time
Workflow Example
- Launch a scan manually or via schedule
- Scan begins asset discovery and enumeration
- Assets and exposures are identified
- Results are added to the platform
- Risk Signals and Tickets are generated
Best Practices
- 🕒 Run scans regularly (weekly recommended)
- 🎯 Ensure complete domain coverage
- 🔁 Review results after each scan
- 📊 Track trends to measure security improvements
Value to Security Teams
From Discovery to Security
Scan → Discover → Analyze → Detect → Act Scans form the foundation of Attack Surface Management, enabling all downstream security workflows.Explore Live Demo
Explore ASM Live — No Signup Needed
Instantly explore how Snapsec Attack Surface Management (ASM) discovers assets, detects exposures, and enables real-time security decisions — all in one unified platform.